My first attempt was not a resounding success, but I’ll get to that. The good news is that the Fractal Define R5 case finally arrived on Monday.
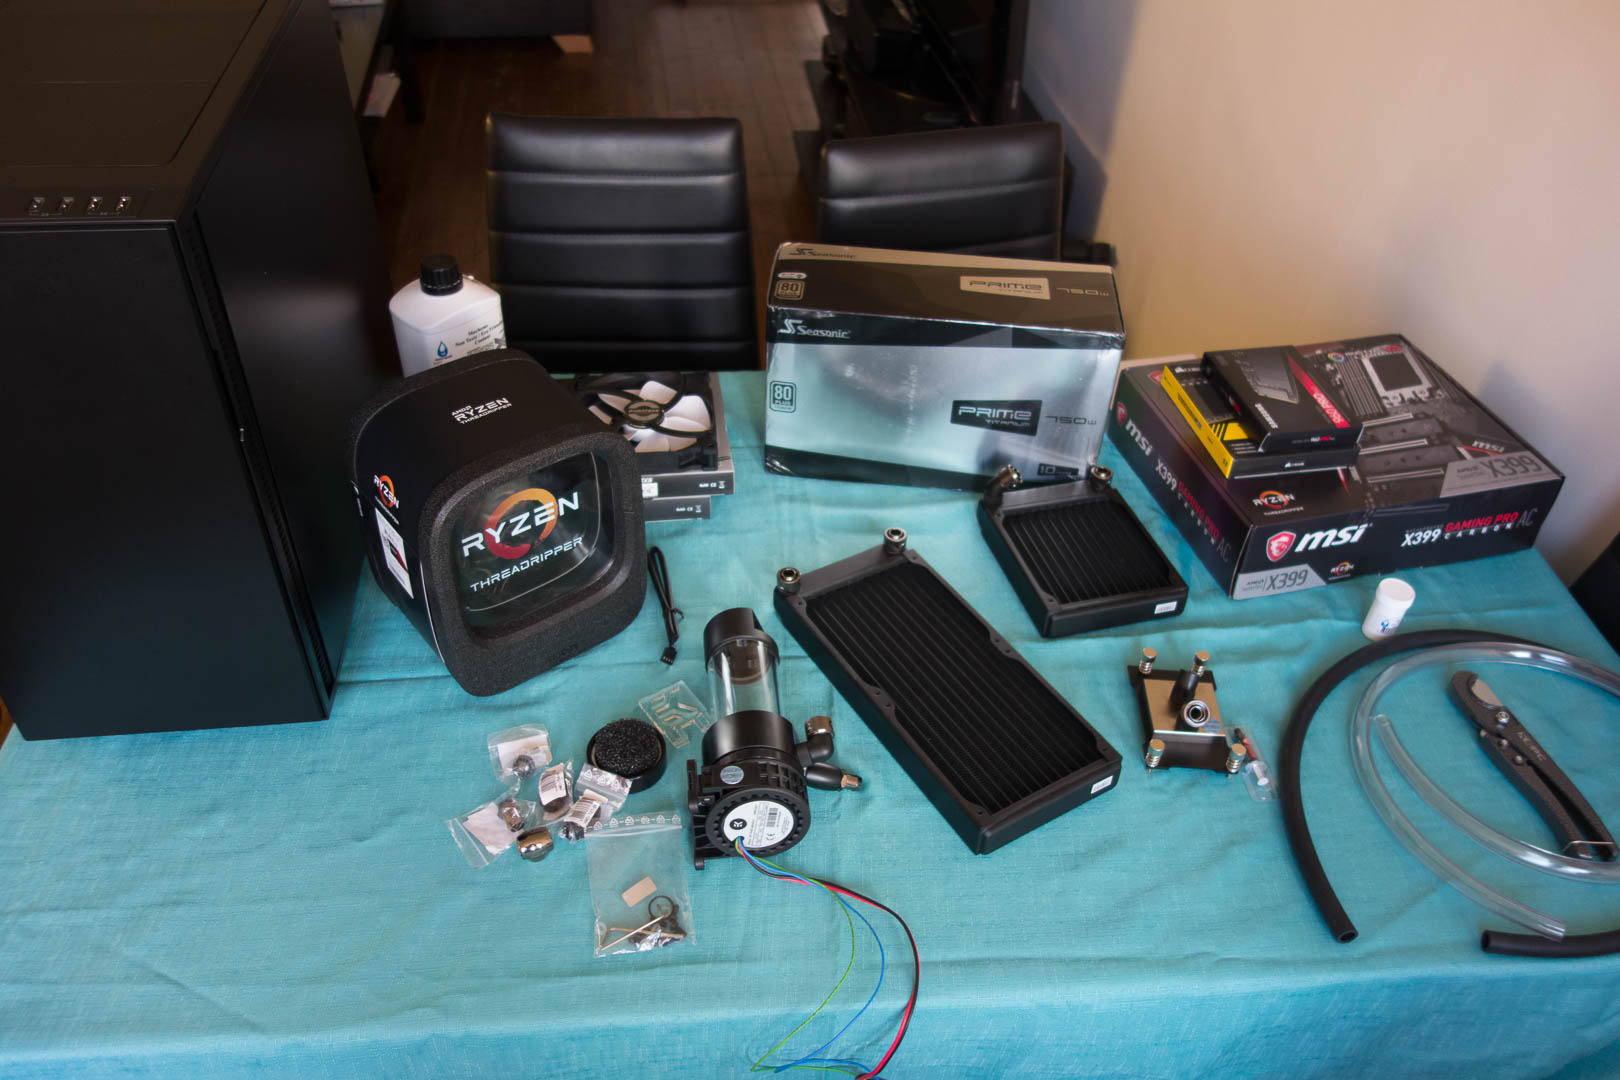
the parts are finally all here
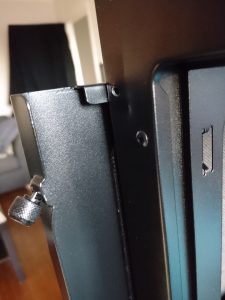
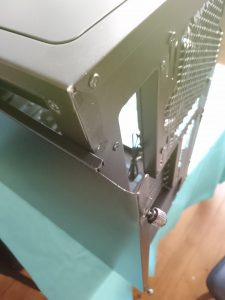
The bad news however, is that it’s damaged:
This was shipped by CCLOnline via DPD and the overall experience was very poor. I paid for Saturday delivery, because a computer in pieces is far too much to cart home from work on the train, and phoned them when it didn’t show up in the slot they gave me. Apparently the courier had a “flat tyre” and would make another attempt the following day (Sunday).
This time, a DPD courier did show up with a package from Overclockers UK. When I said there should be two deliveries he said no, just the one. 30 seconds later (not an exaggeration, it was less than a minute) I get another text from DPD saying the driver couldn’t deliver because no one was there to receive the delivery!
On phoning them again my only option was to pick up from their depot or accept a third attempt on Monday. So I stayed home, and this time it fortunately did show up… albeit damaged as you can see in the photos above. It had clearly taken a big impact as the polystyrene was damaged, so I shudder to think what would have happened to it if there had been a whole computer in there.
Anyway, rather than go through the whole rigmarole of shipping it back and waiting for another one, I decided to hammer it back into shape and carry on, with a mental note to avoid any retailer that ships via DPD in the future!
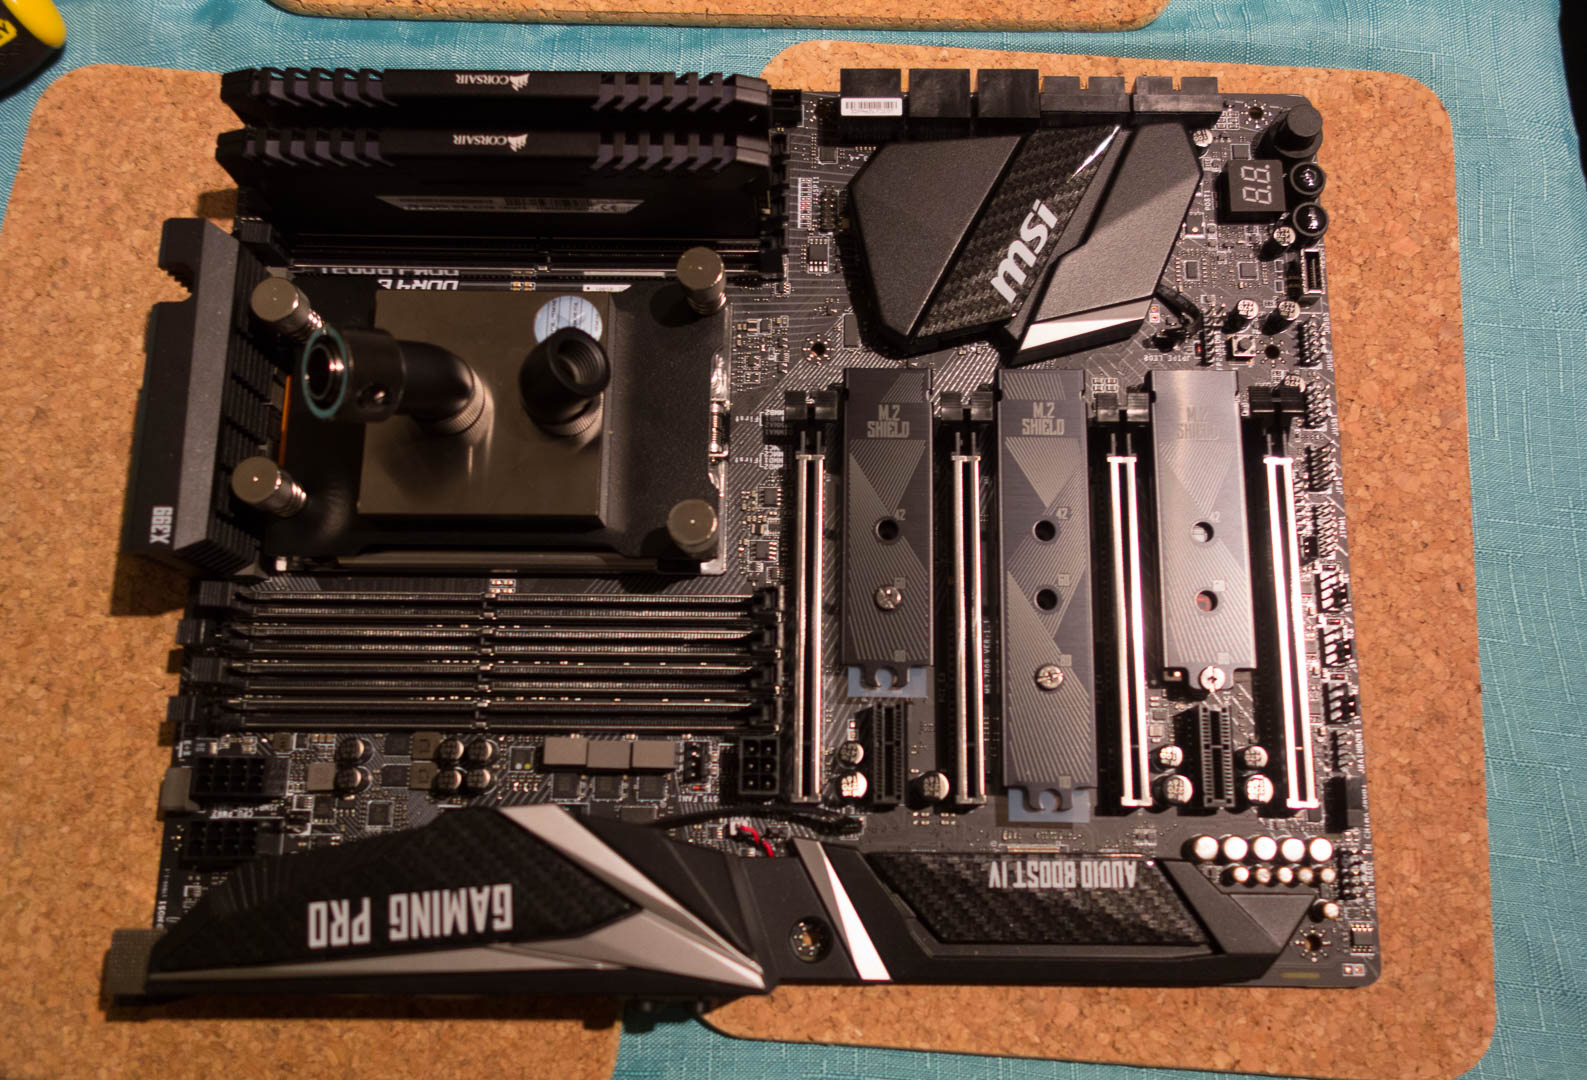
The Motherbaord
The Threadripper CPU really is massive, but the socket is very well designed, and as long as you’re careful it’s pretty hard to damage anything, despite the fragility of the LGA pins. There are many videos on YouTube if you want to see how it’s done, but I appreciated the included torque screw driver, which stops you tightening the socket screws too much.

CPU, ram and M.2 SSD installed
The tricky part was installing the EK EVO Threadripper water block. I forgot to take a picture of my job with the thermal paste, but I suspect I put too much on. I tried to get it as thin as possible, but it’s like putty and clumps together, and I was going for near-100% coverage, so the resulting application was probably too thick. A better approach might be to apply smaller dabs with space in between them to expand in to.
Screwing on the block should have been really simple, but I had trouble aligning the top screws, and the VRM heatsink on the MSI X399 motherboad prevented me getting my fingers all the way around which meant lots of small turns rather than longer ones. Because of this I suspect I cross-threaded it on the first attempt, which made subsequent attempts more difficult. In the end, I took the VRM heatsink off so I could get my fingers all the way around, which made it much easier.
Waterblock installed
Learnings:
- Remove the VRM heatsink before installing the water-block (it’s simple to do)
- Use less thermal paste, don’t worry about 100% coverage
- Don’t install the ram before the water-block
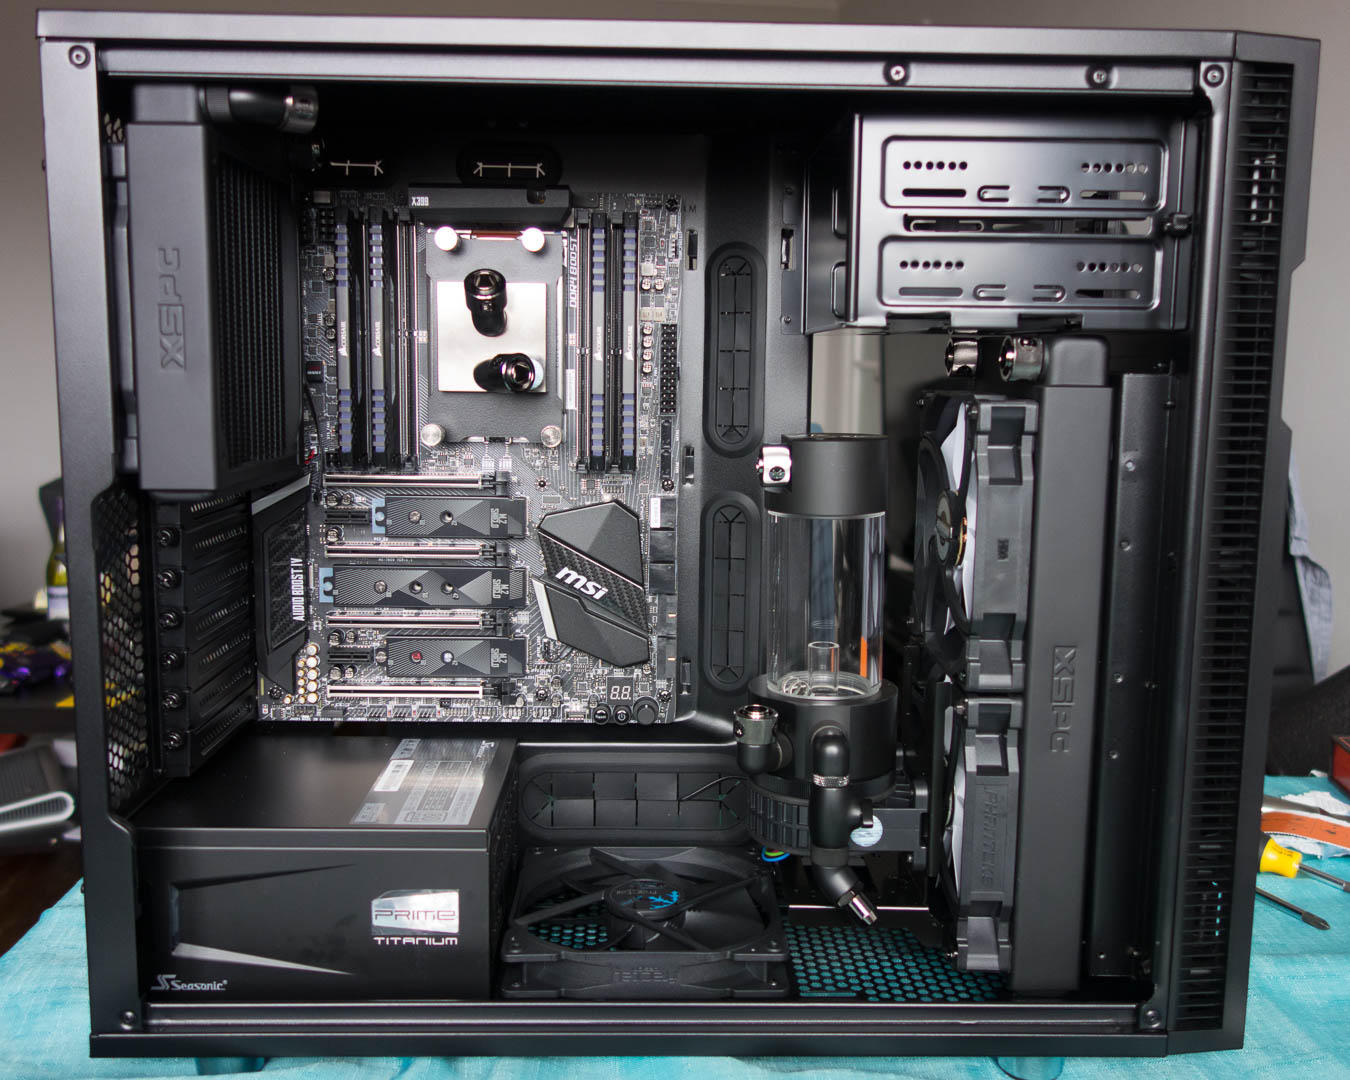
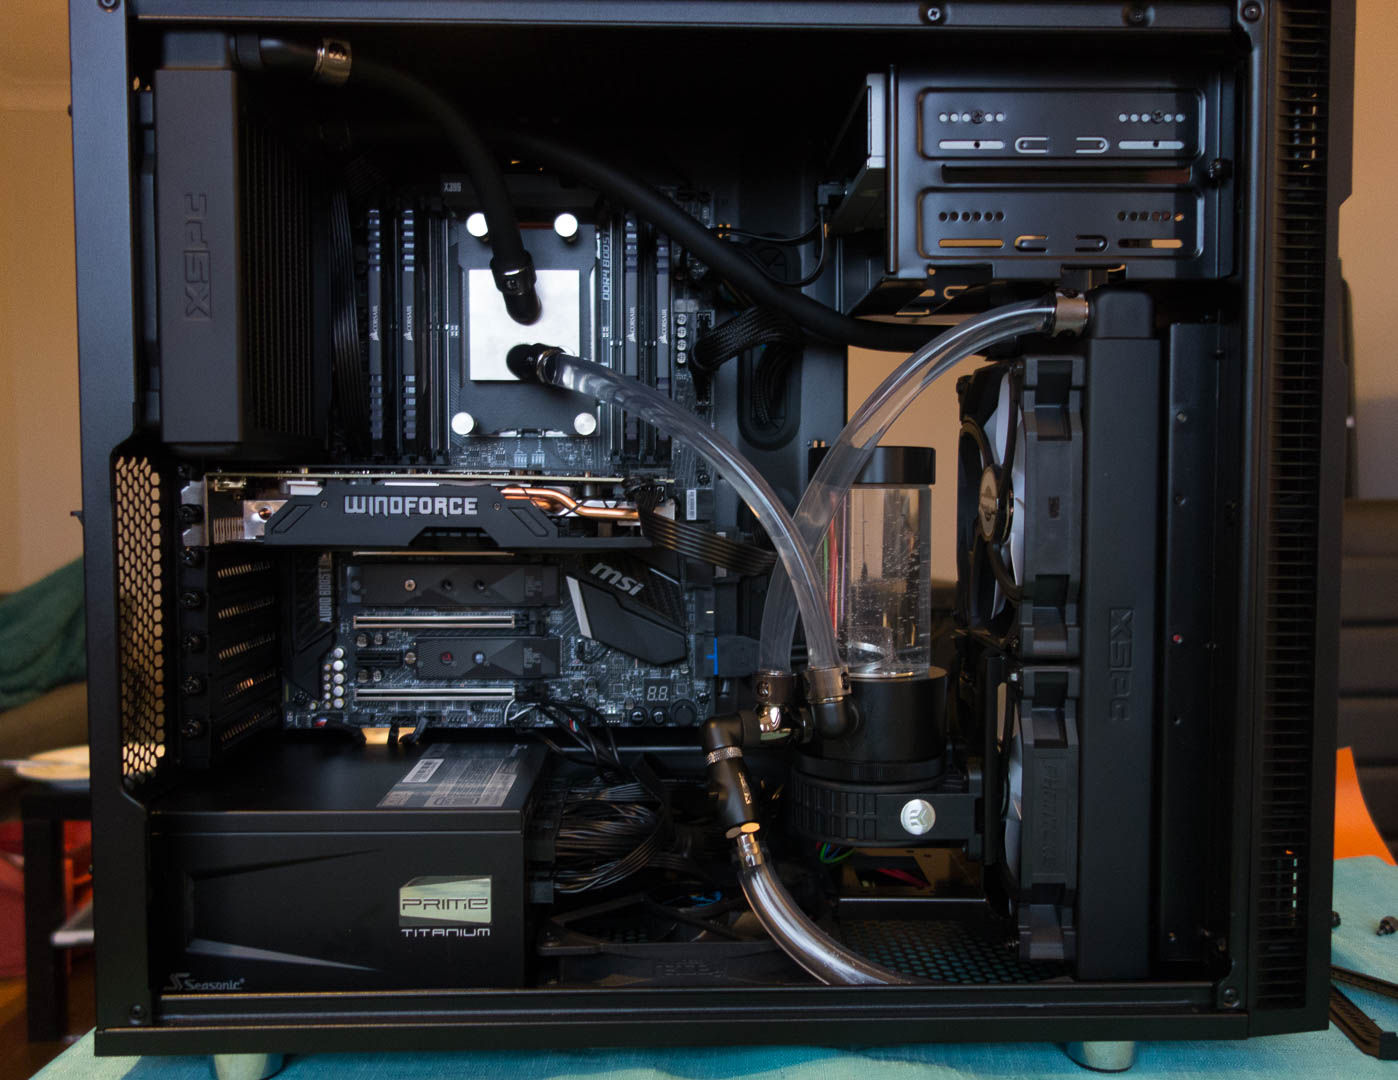
The Case and Radiators

motherboard and radiators in the case
I went with a 140mm radiator in the rear and 280mm in the front. This is really overkill for a single CPU, even if it is 180W, but I want capacity for a GPU block in the future, and as the thinking goes you may as well get the largest radiators the case will support. As I type this, I’ve been running 24 threads of the Prime95 stress test for about an hour, and it’s sitting at 66 degrees, with the two front rad fans at 900 rpm and the rear at 500.
There are two reasons for putting the larger radiator in the front, rather than the celing:
- To have two 140mm fans pushing in, creating positive pressure, rather than drawing out, creating negative pressure. Positive case pressure reduces dust build-up, and means that hot air from the GPU will be pushed out the rear vents rather than drawn in to the centre of the case.
- So I could keep the top closed, which reduces noise, and means I can use it as a shelf.
The second reason didn’t really pan out, because I noticed under load that the VRM heatsink was getting very hot to the touch. Thus I’ve ended up opening the rear top panel to give the VRM more air to breathe.
In retrospect, a thin 240mm radiator in the top, and a standard one in the front might have been better. With a 240mm front radiator and 120mm fans, you can mount them behind the front panel, which frees up some space inside and could have allowed me to mount the smaller hard drive cage on the floor. I would also had had to use a smaller pump and res, but as it is I’ve had to install my 2TB 3.5″ hard drive below the Blu-ray drive. Having zero 3.5 inch bays in such a large case is kinda crazy, at least until I can afford a couple more M.2 SSDs.
I also moved one of the included fans to the floor in front of the power supply. It only just fits, and obstructs some of the power supply ports:
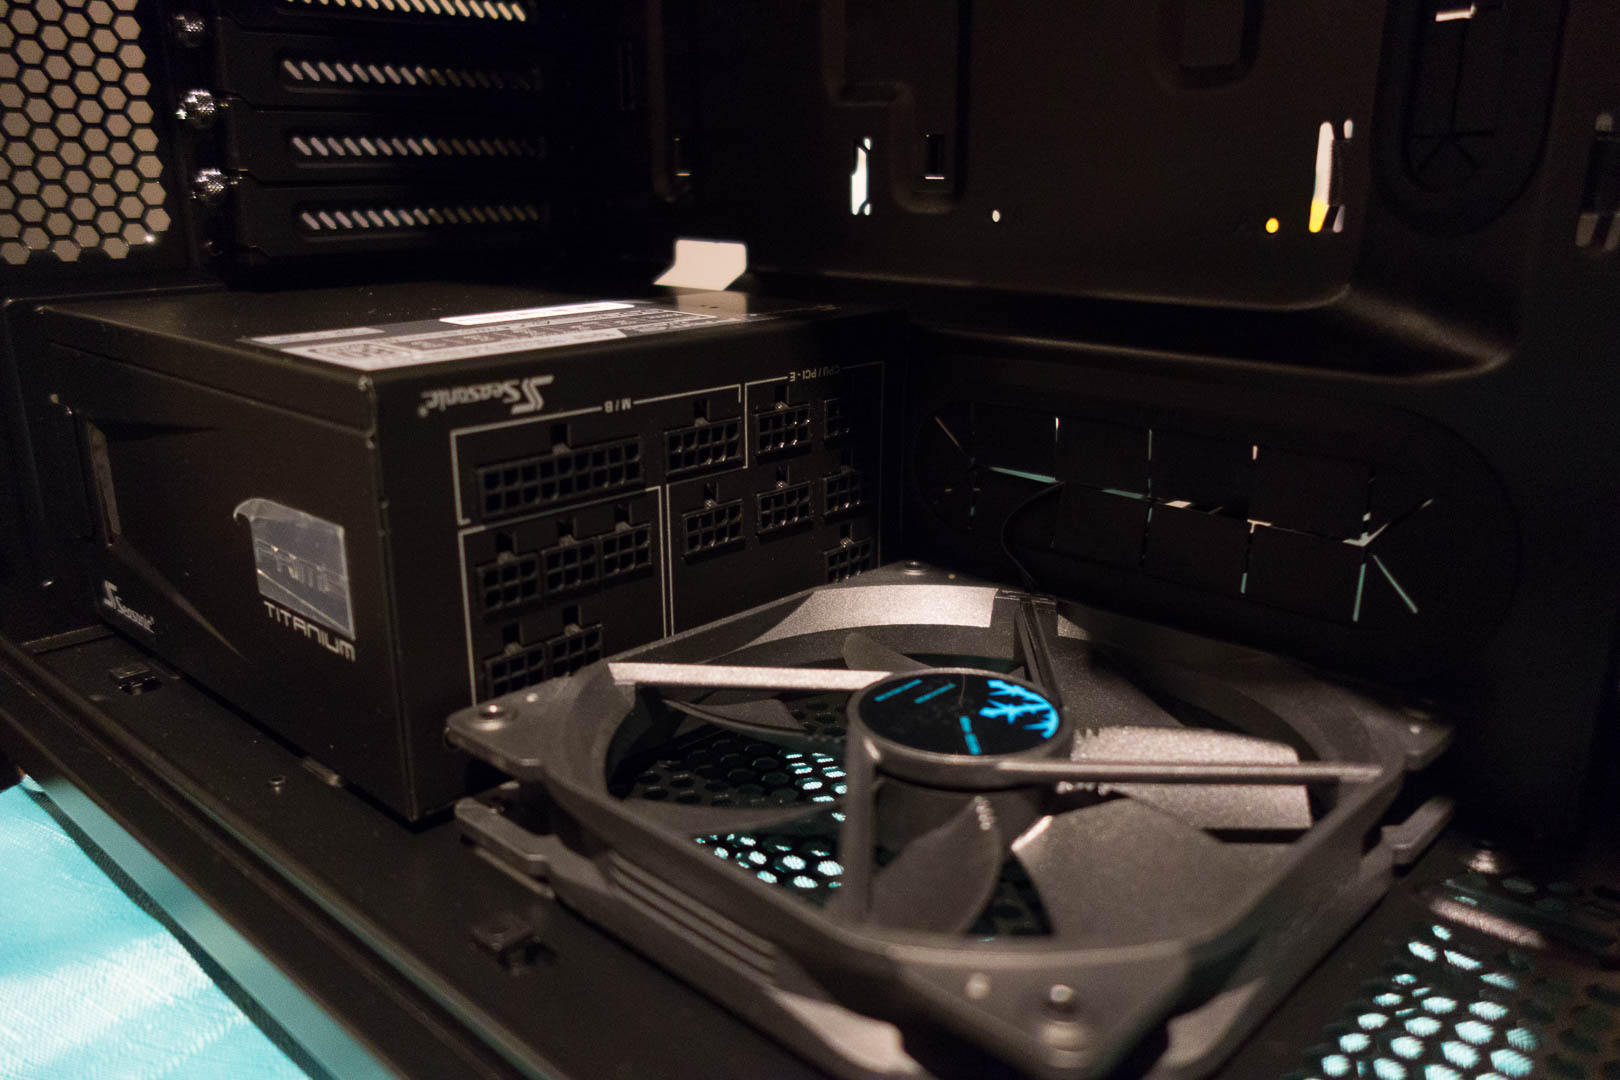

Since I don’t need all of them, it isn’t a problem, but the fan is heavily obstructed by wires.
The Pump and Reservoir
pump installed
Mounting the reservoir was a little trickier than I thought, and I was surprised that the only mounting provided out of the box is a stick-on guide so you can drill your own holes. Rather than borrow/buy a cordless drill, I spent another £12 on a “EK Water Blocks EK-UNI Pump Bracket (140mm FAN)“. However the 280mm radiator also lacked the 4 long mounting screws (maybe someone pinched them and returned it?), so I picked up a packet of 30mm 6-32 screws as well.
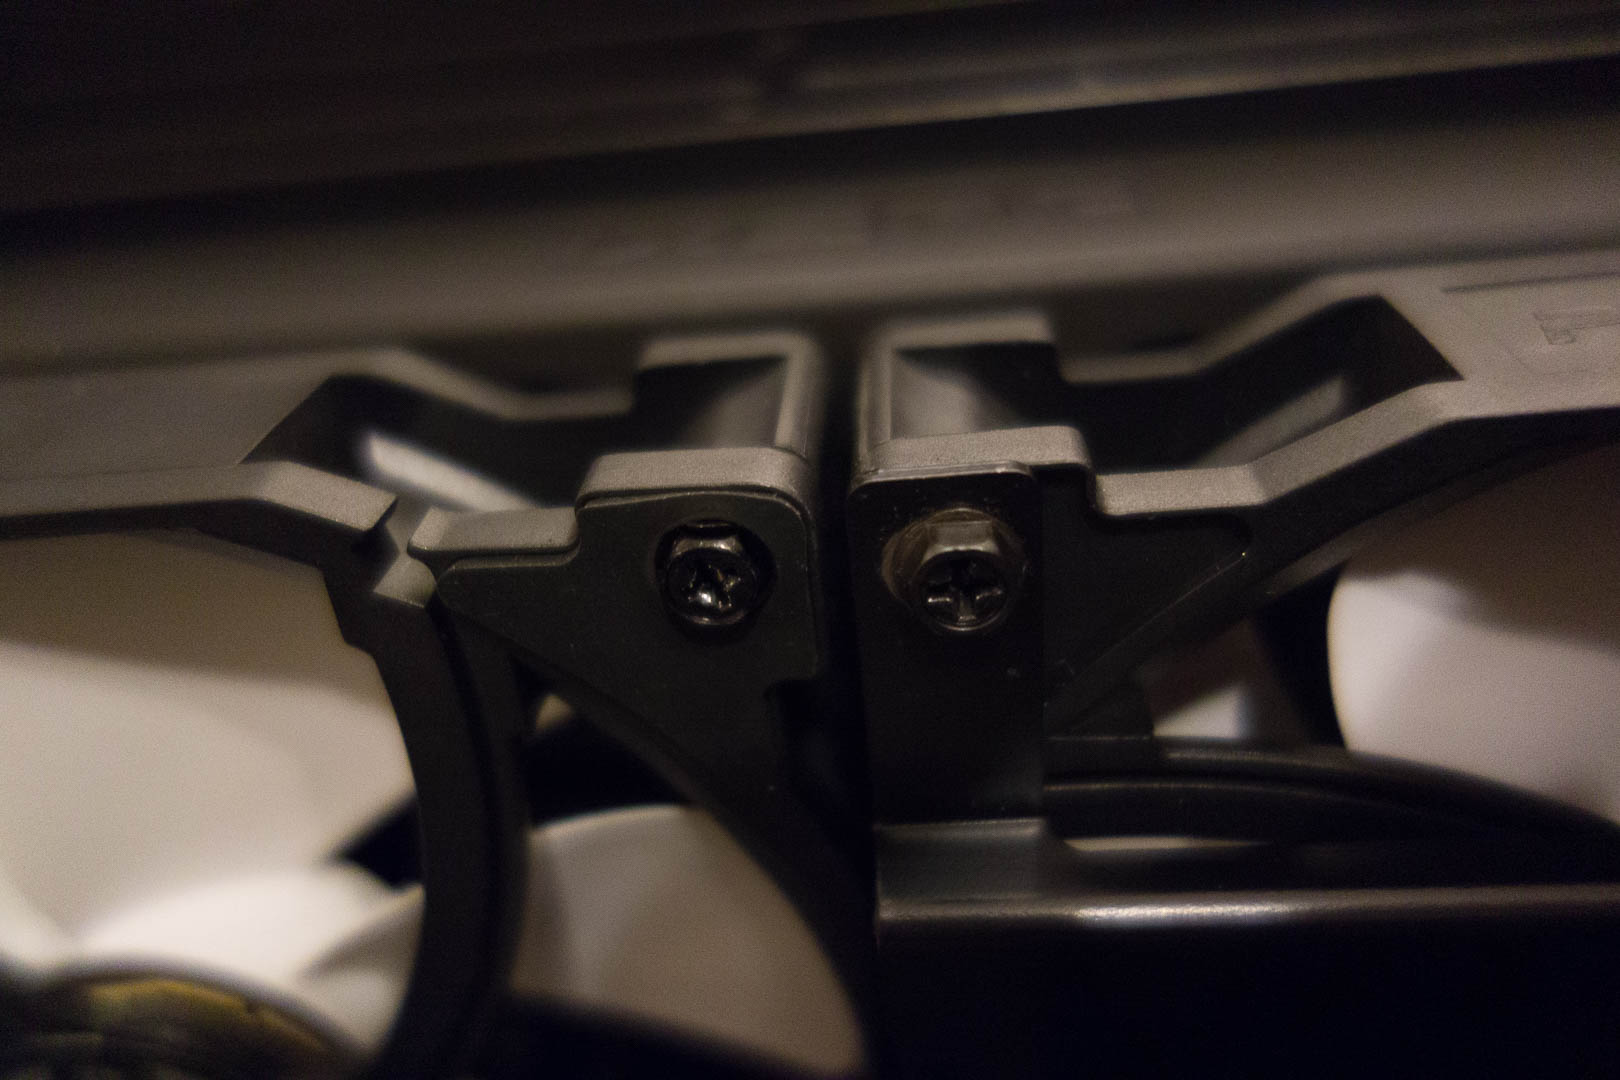
The tricky part is that the Phanteks fans have a rubber vibration dampener that makes them just a little thicker than most, and the 30mm screws were a little too short after adding the thickness of the bracket. Thus I had to remove the pads on the side the bracket was mounted to:
removed the rubber vibration pads to mount the EK XRes bracket
After this, the screws made it to the radiator and held securely.
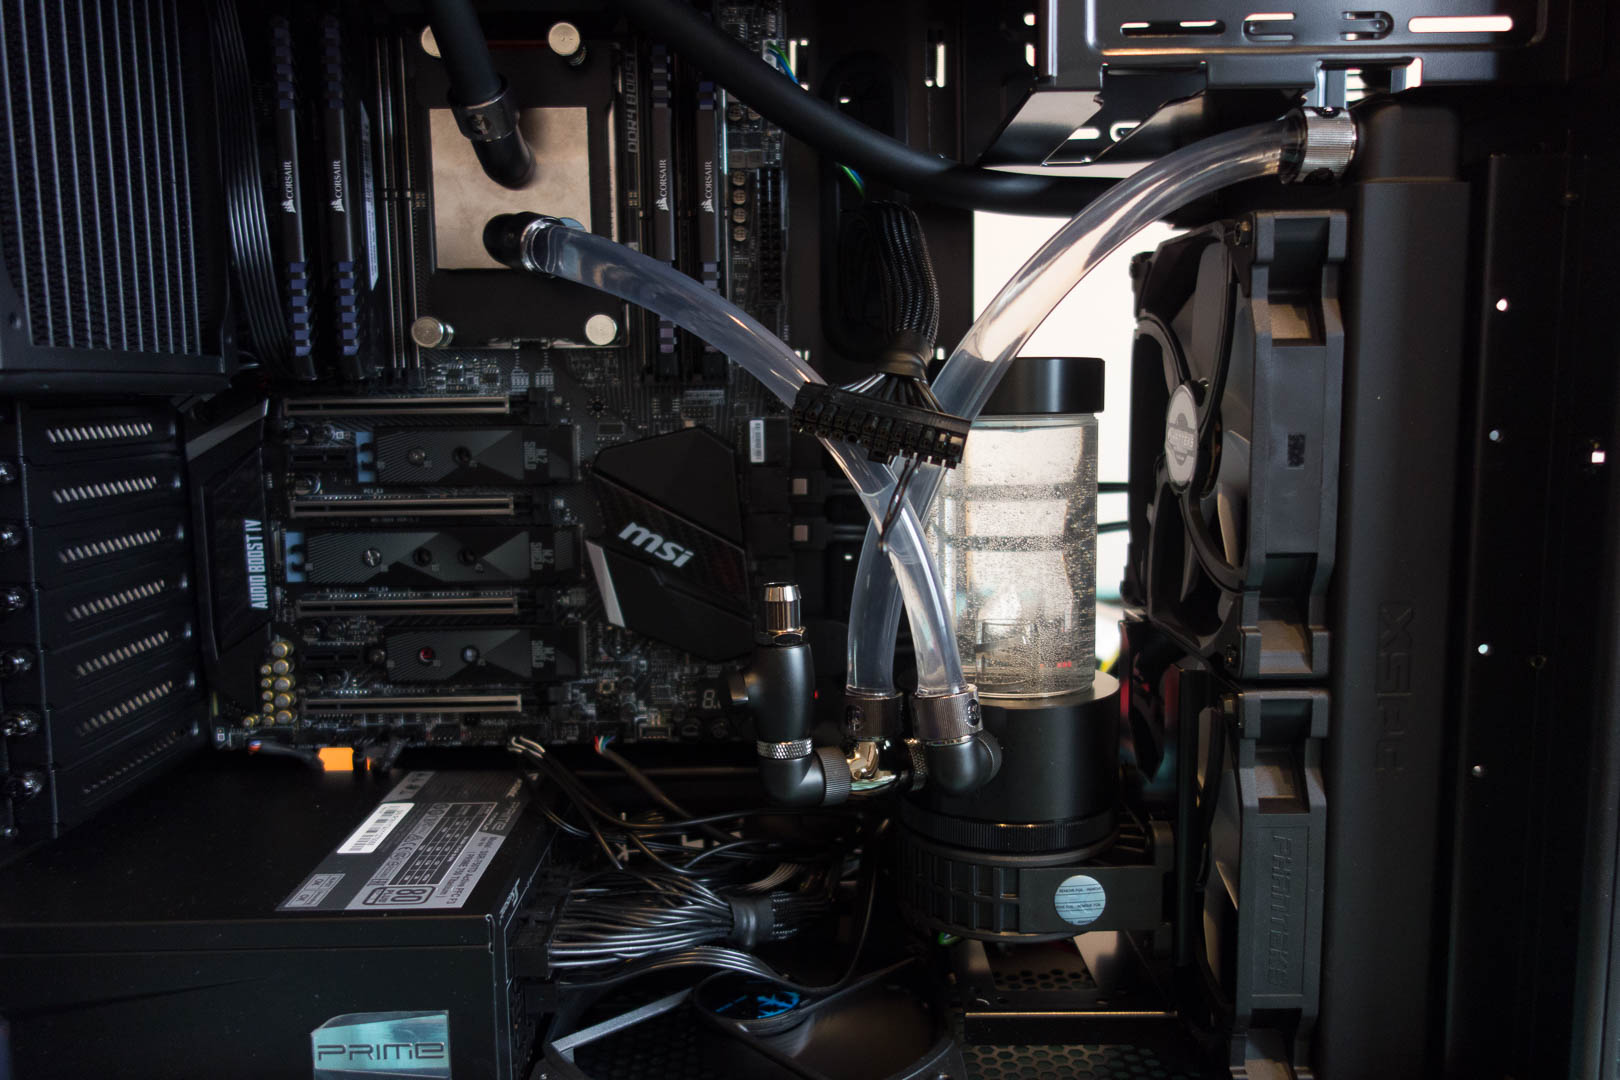
Plumbing
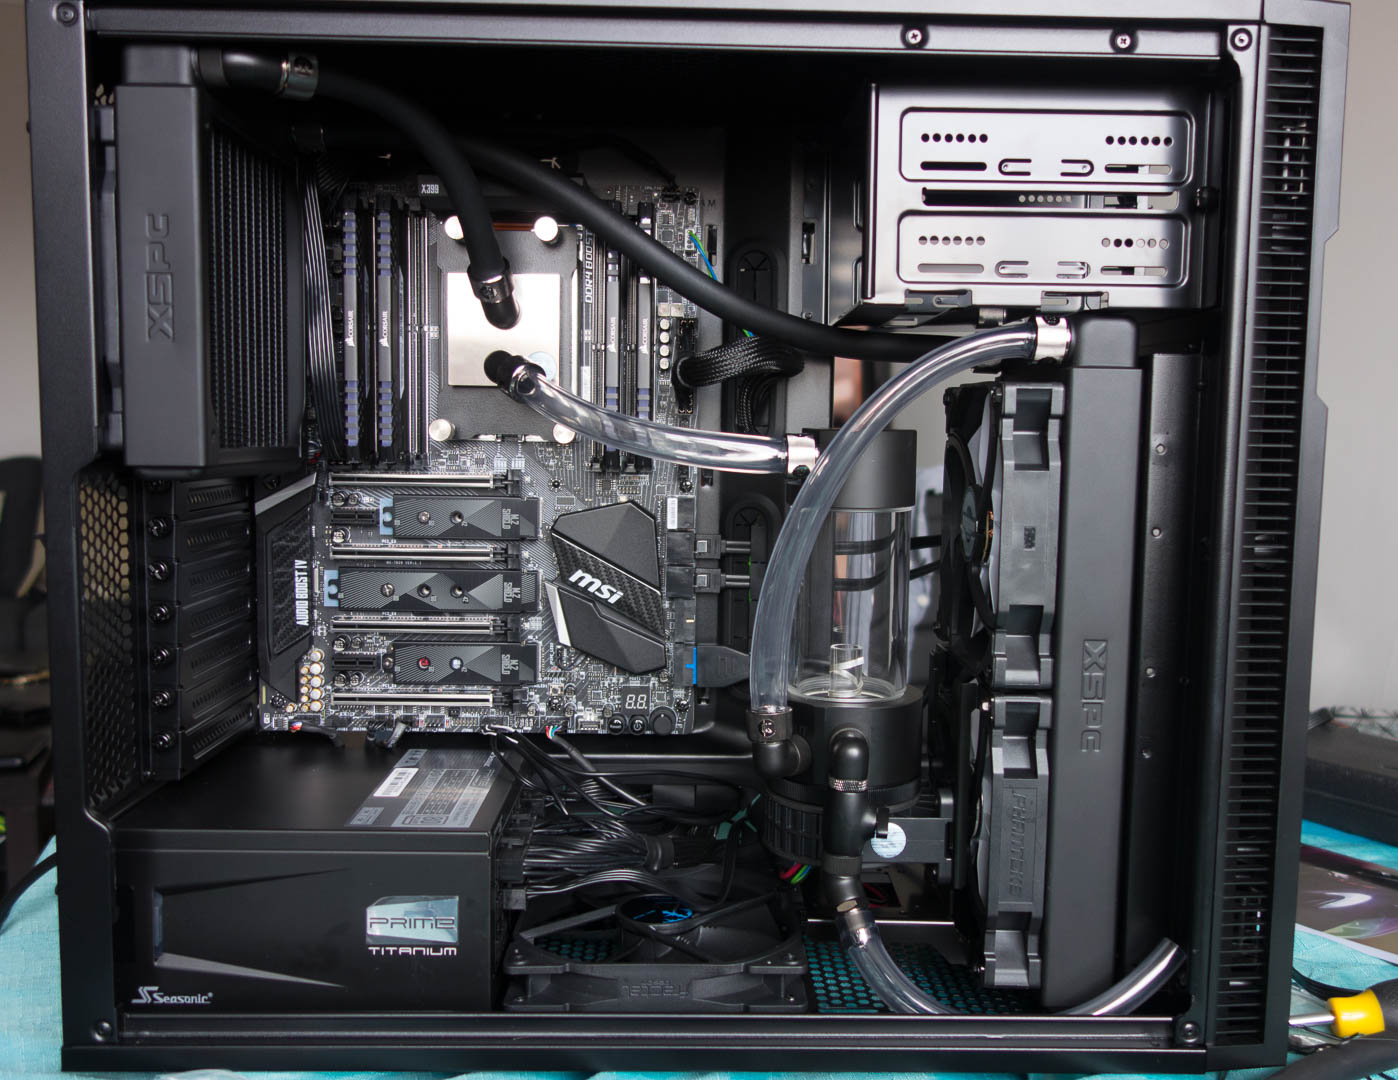
first loop design
Connecting the tubing was simple. Press the hose on one end, run it to the other end, mark the spot with your finger, add a bit of slack (you can make it shorter but not longer), and cut.
The black rubber tubing is much nicer to work with than the clear PVC tubing. It’s more flexible and more durable, and seems much less likely to leak as it creates a better seal. And the best bit – it won’t discolour after a year or two of use! 😁
For this first try though, I definitely appreciate having clear tubing connecting the inlet and outlet of the reservoir.
The outlet of the Xres was connected to the 280mm rad, which is connected to the far port of the 140mm rad, which feeds into the top port of the CPU block (it has designated in and out ports), which connects to the top of the res. I used the original inlet on the res as a drain, connecting the ball valve and a barb to it. Ensure this is always closed!
To fill, I connected a tube to another port at the top of the res, and improvised a funnel out of the original top and spare pass-through fitting:
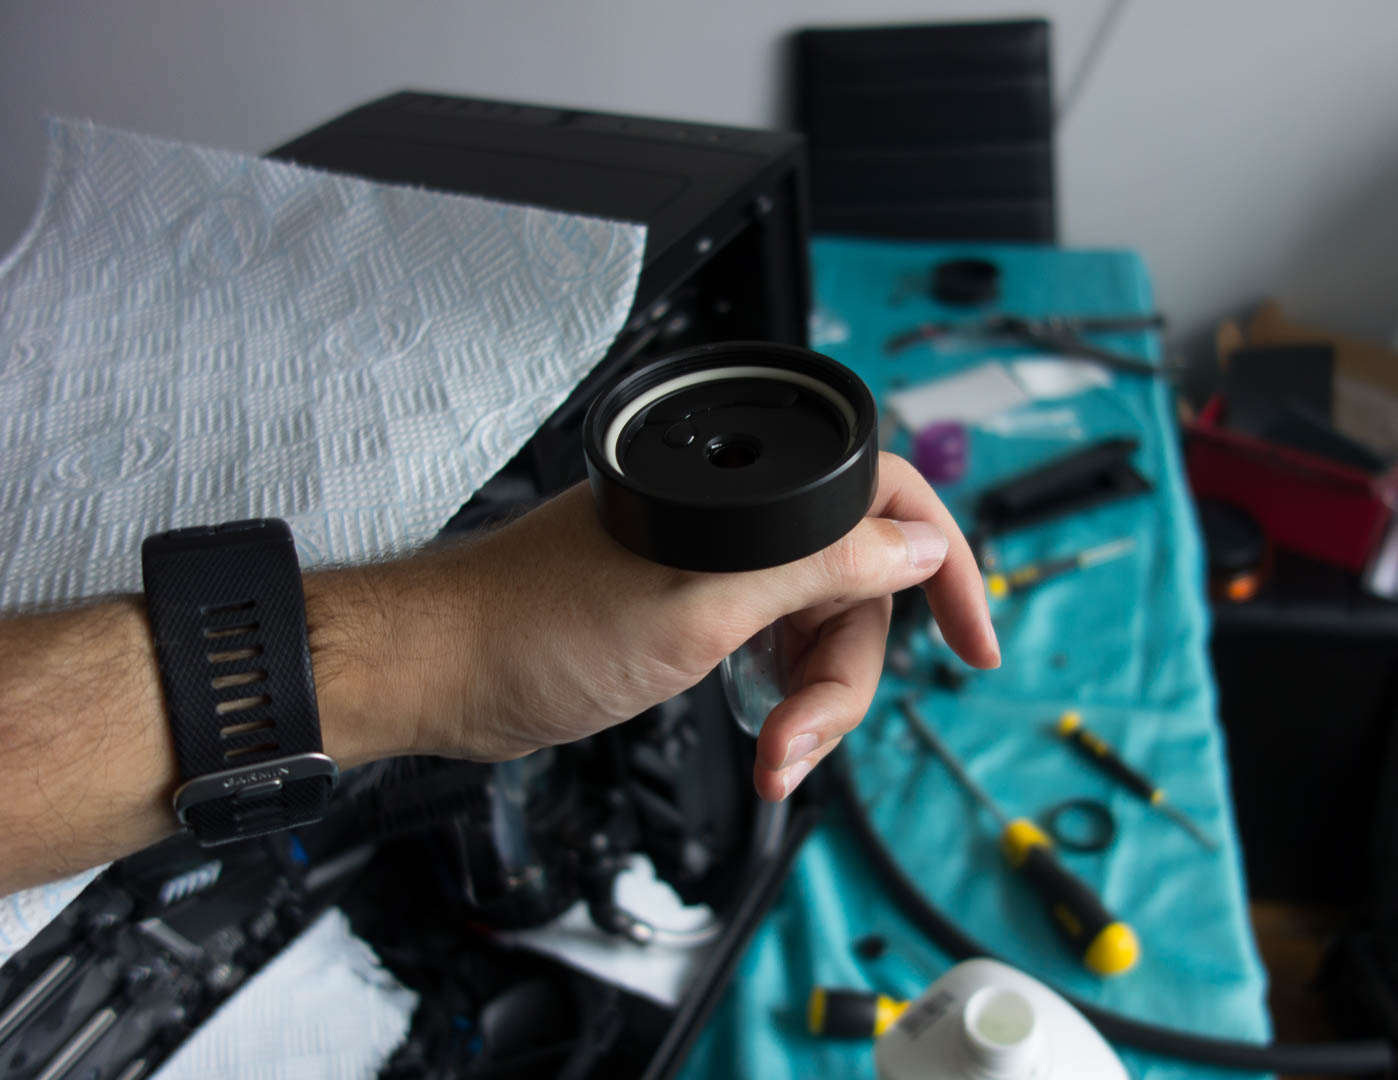
using the original top as an improvised funnel
Then I laid out some paper towels, jumped the power supply, filled the res, and cycled the power, turning it off before the res completely drained. Fill, power on, power off, repeat.

leak testing
The problem with this first loop design quickly became apparent. Once I had filled the loop with liquid there was nowhere to bleed the air. The EK multi-port top doesn’t include the inner tube which would push the inlet further down into the reservoir and allow a pocket of air to form at the top.
Without it, the loop was impossible to bleed effectively, and it looked like I was pushing a fluffy cloud around:
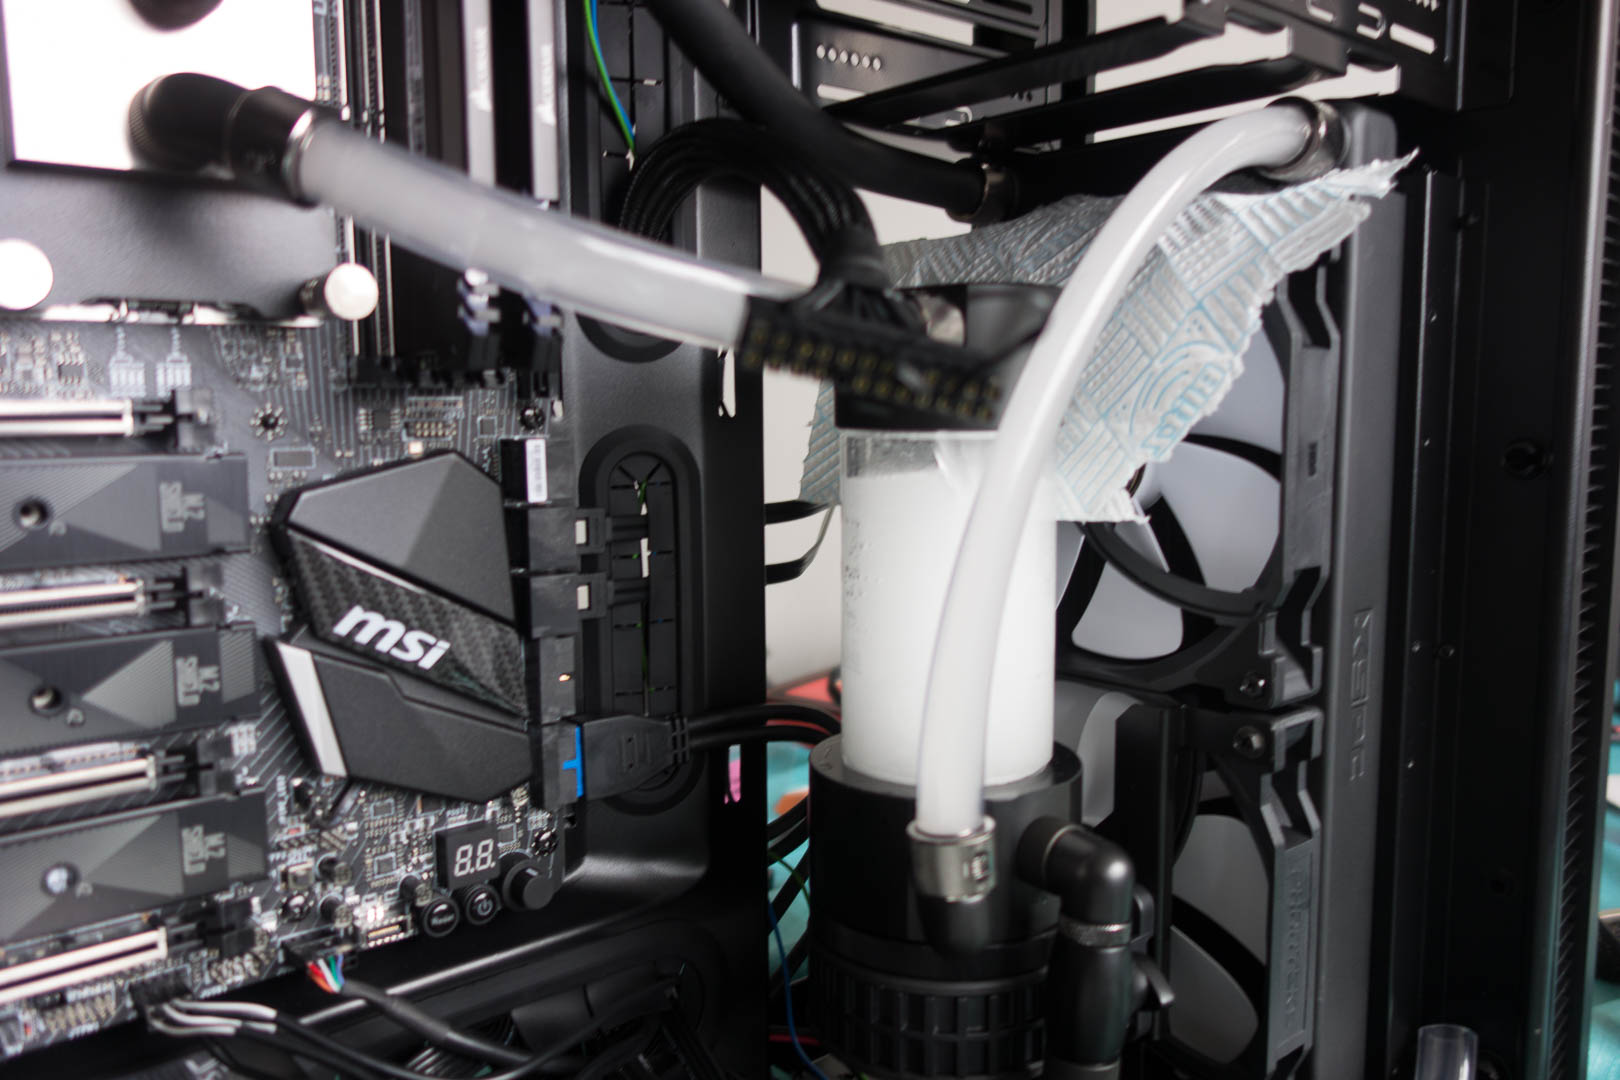
At first I tried to bleed it with the tube I used to fill, but I quickly realised it was a flawed setup, and drained it to reconfigure the reservoir.
trying to bleed air with a tube
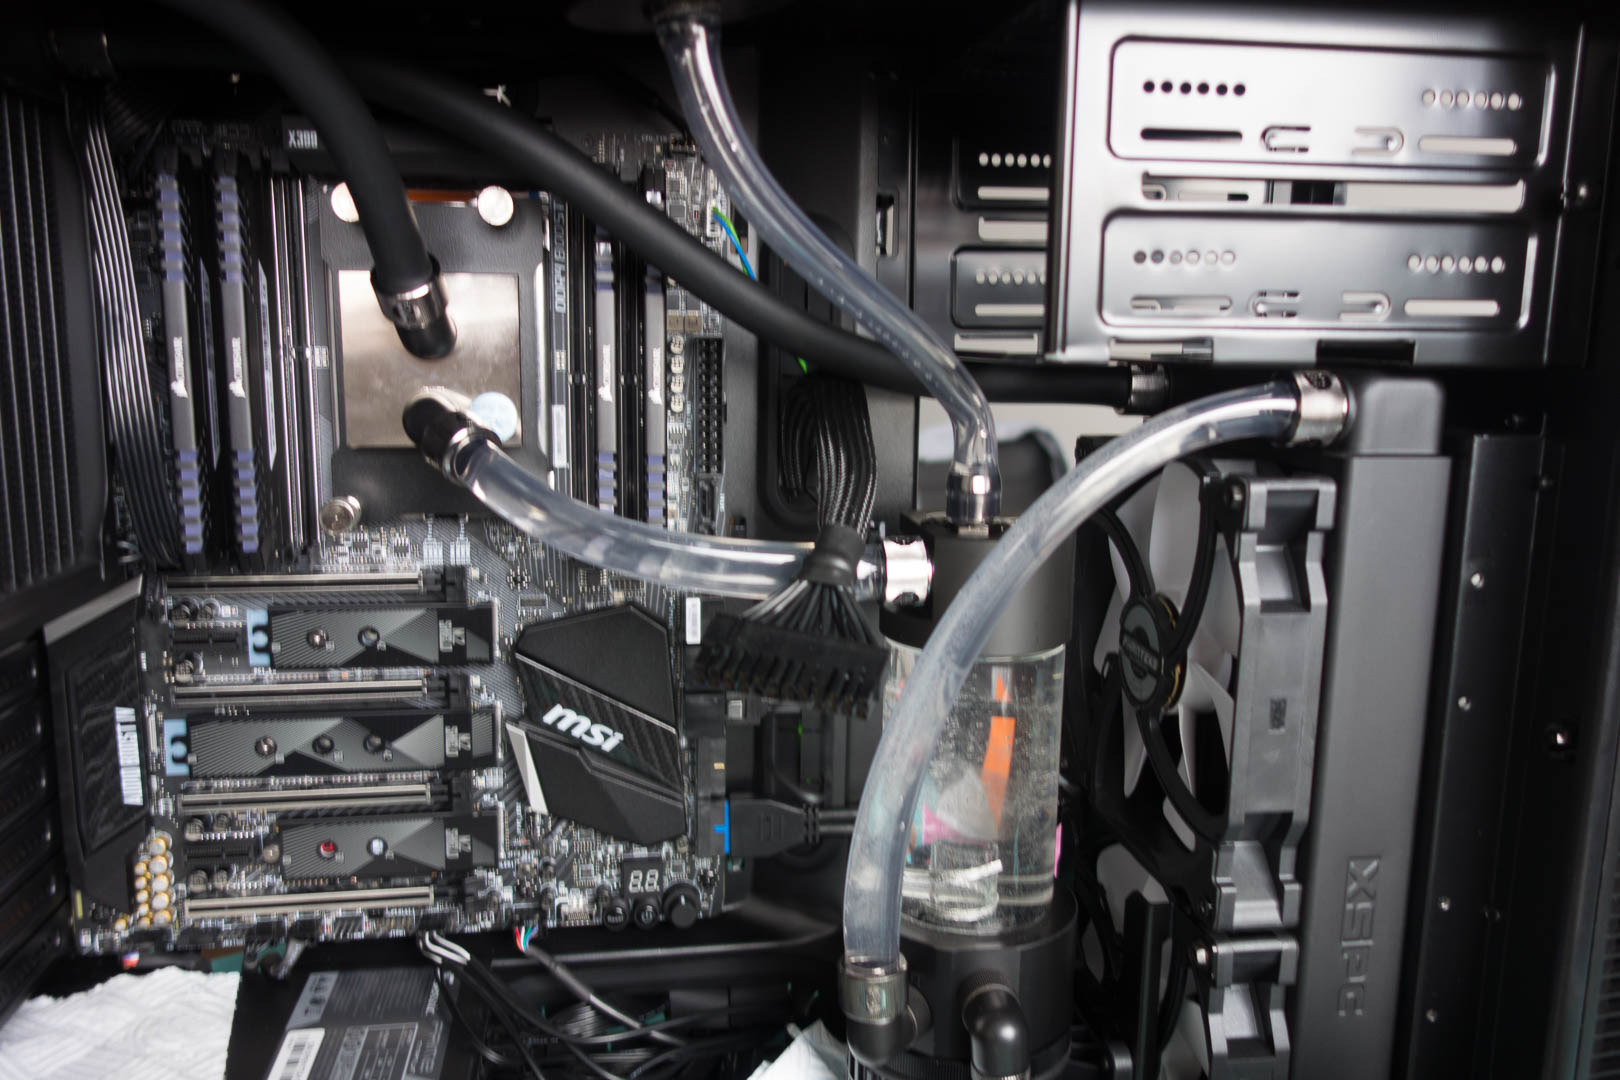
Plumbing Take Two
The second attempt isn’t as pretty, but I only had to cut one more tube. And, as it so happens, it’s much easier to bleed:
The fix was to use the Xres as it came out of the box – with the inlet and outlets both at the bottom. I reinstalled the original top, and added a T-joint to the the outlet of the res so it could double as the drain. It’s slightly more effective for getting the coolant out, as it’s lower than the inlet, but I suspect it would impeded flow a little more than the first drain solution.
All Aboard
all installed
In the pic above, I’ve mounted the GPU at the very top, but as every slot on the motherboard is X16, I moved it down a slot so it has a bit more air flow around it. I also added the included WiFi card.
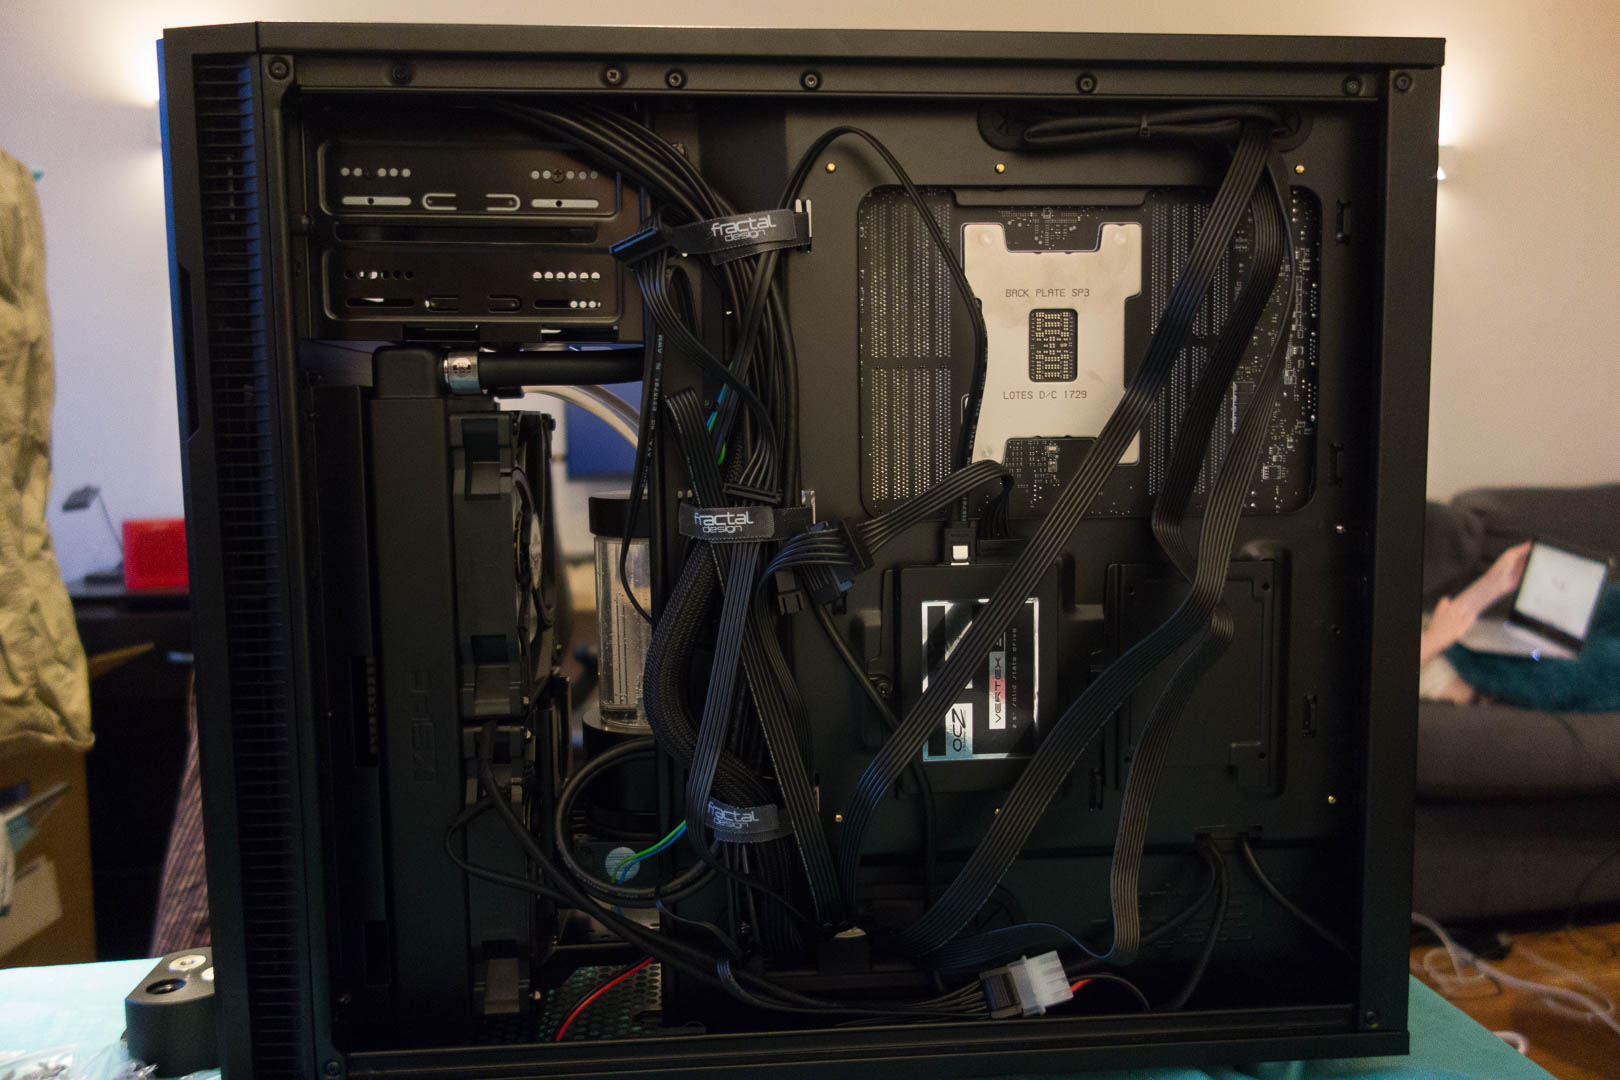
the mess at the back
The other side is messy, but manageable.
Power Up
The most nerve-wracking part was powering it on for the first time. I started building it a week ago!
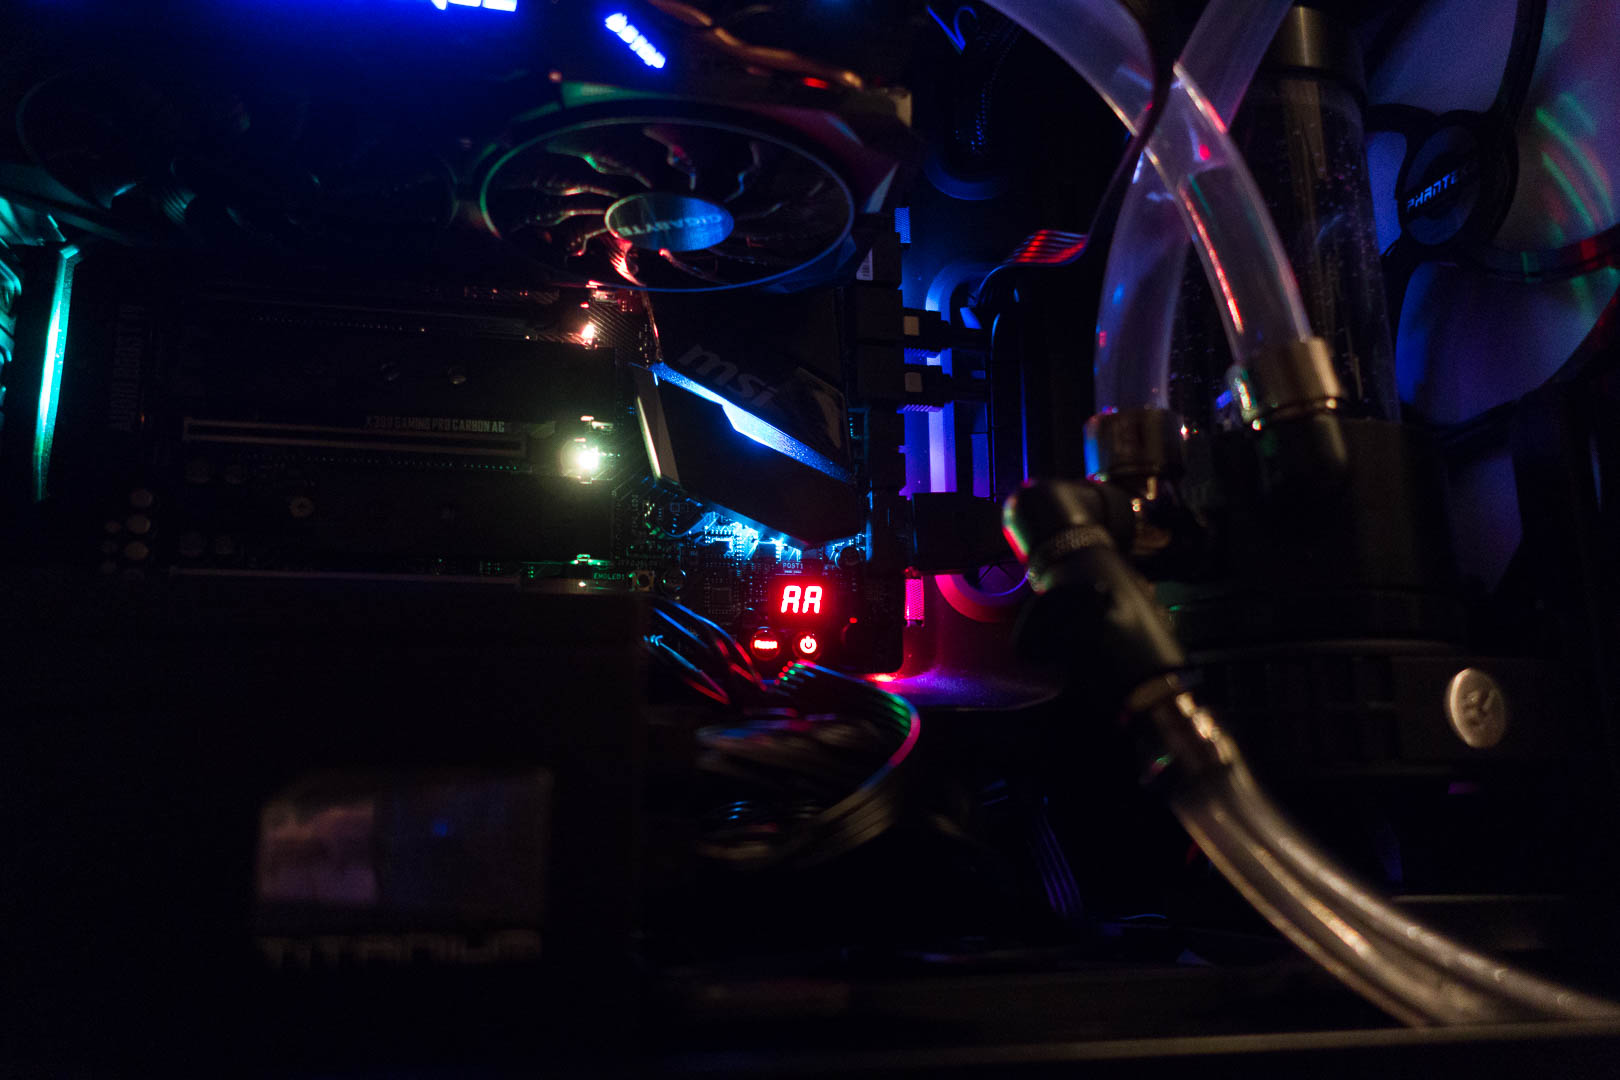
the motherboard’s diagnostic leds could be very useful
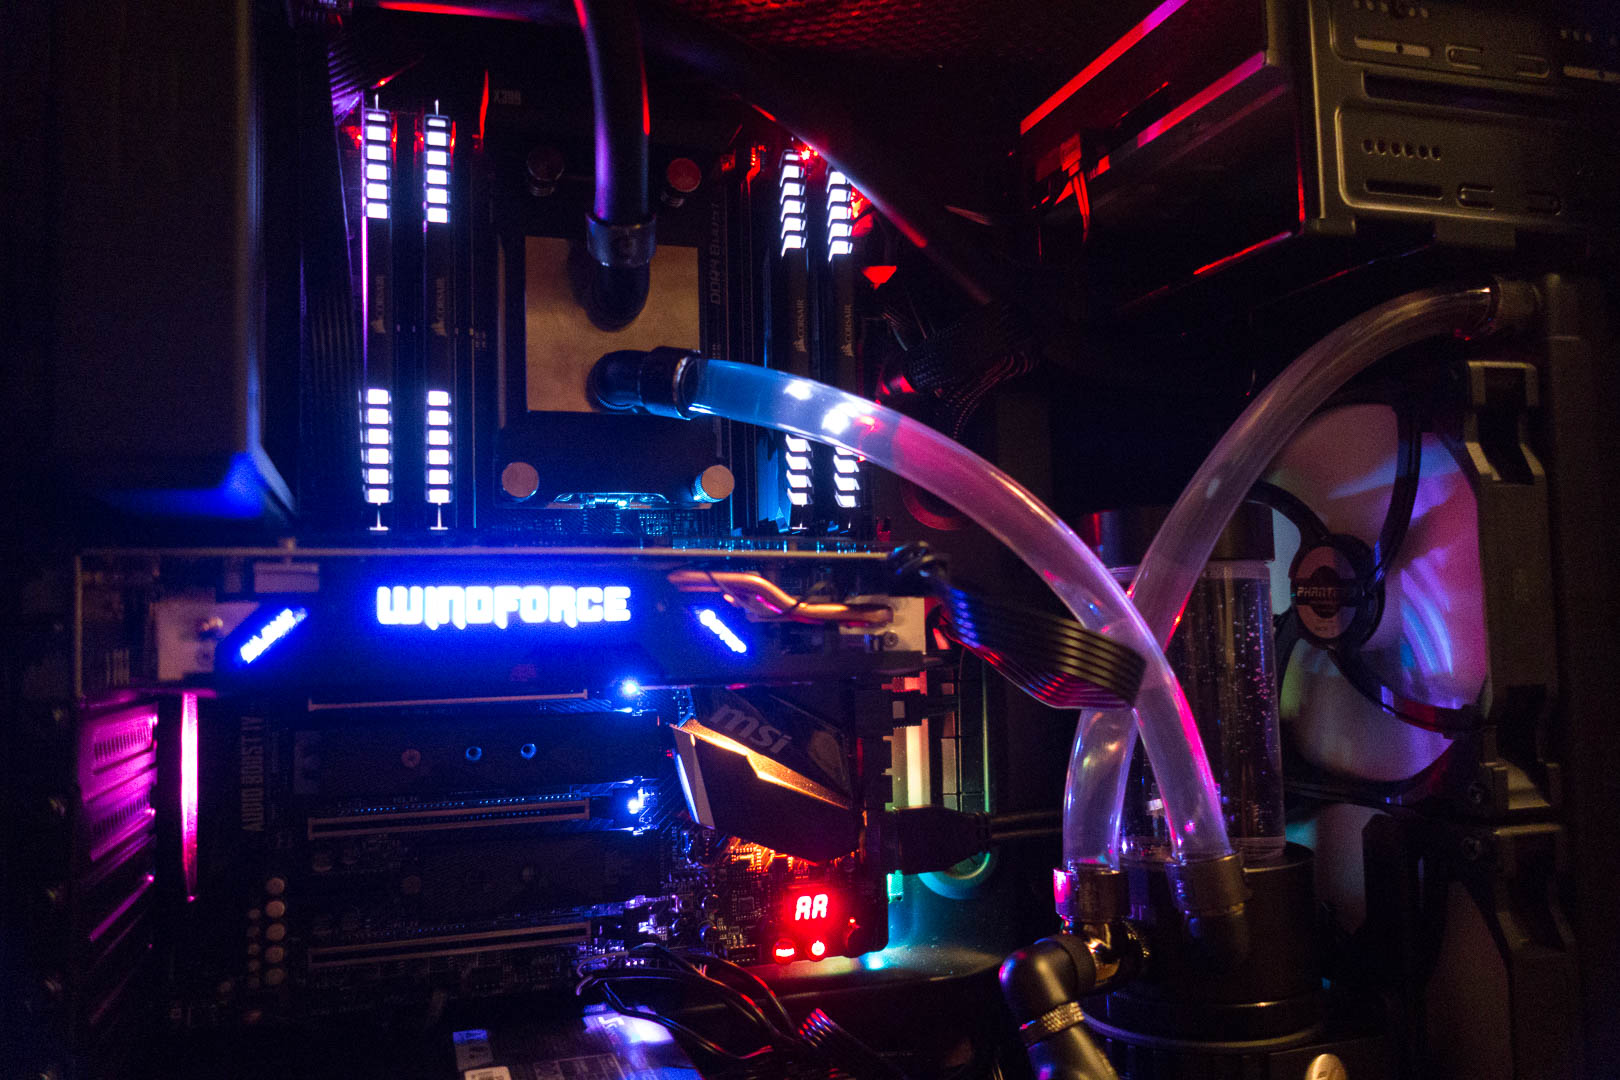
the rainbow lighting effects less so
Fortunately, everything worked first time.
And with that, my first proper water-cooled PC has become a success. This setup cools a 180W CPU just as quietly as my old PC cooled a 77W CPU. Building it was fun – like an expensive (and useful) lego set.
Updated Parts List
After posting the first article and starting the build, I realised I was short a few thing:
- 2x EK Water Blocks EK-ACF Fitting 12/16mm – Black Nickel – £9.98
- 1x XSPC Radiator Fan Screw 6-32 30mm (16PCS/BAG) – £0.95
- 1x EK Water Blocks EK-UNI Pump Bracket (140mm FAN) Vertical – £12.95
The final parts list is thus:
From this though, I have one angle fitting spare. The two barb fittings are used for filling and the drain. If you use the top (like my first loop design), get a tube for the inside as well (something like EK-RES X3 – Internal Tube 12/16 40mm).
Pingback: The 80/20 Rule Applied to Personal Finance | Al4