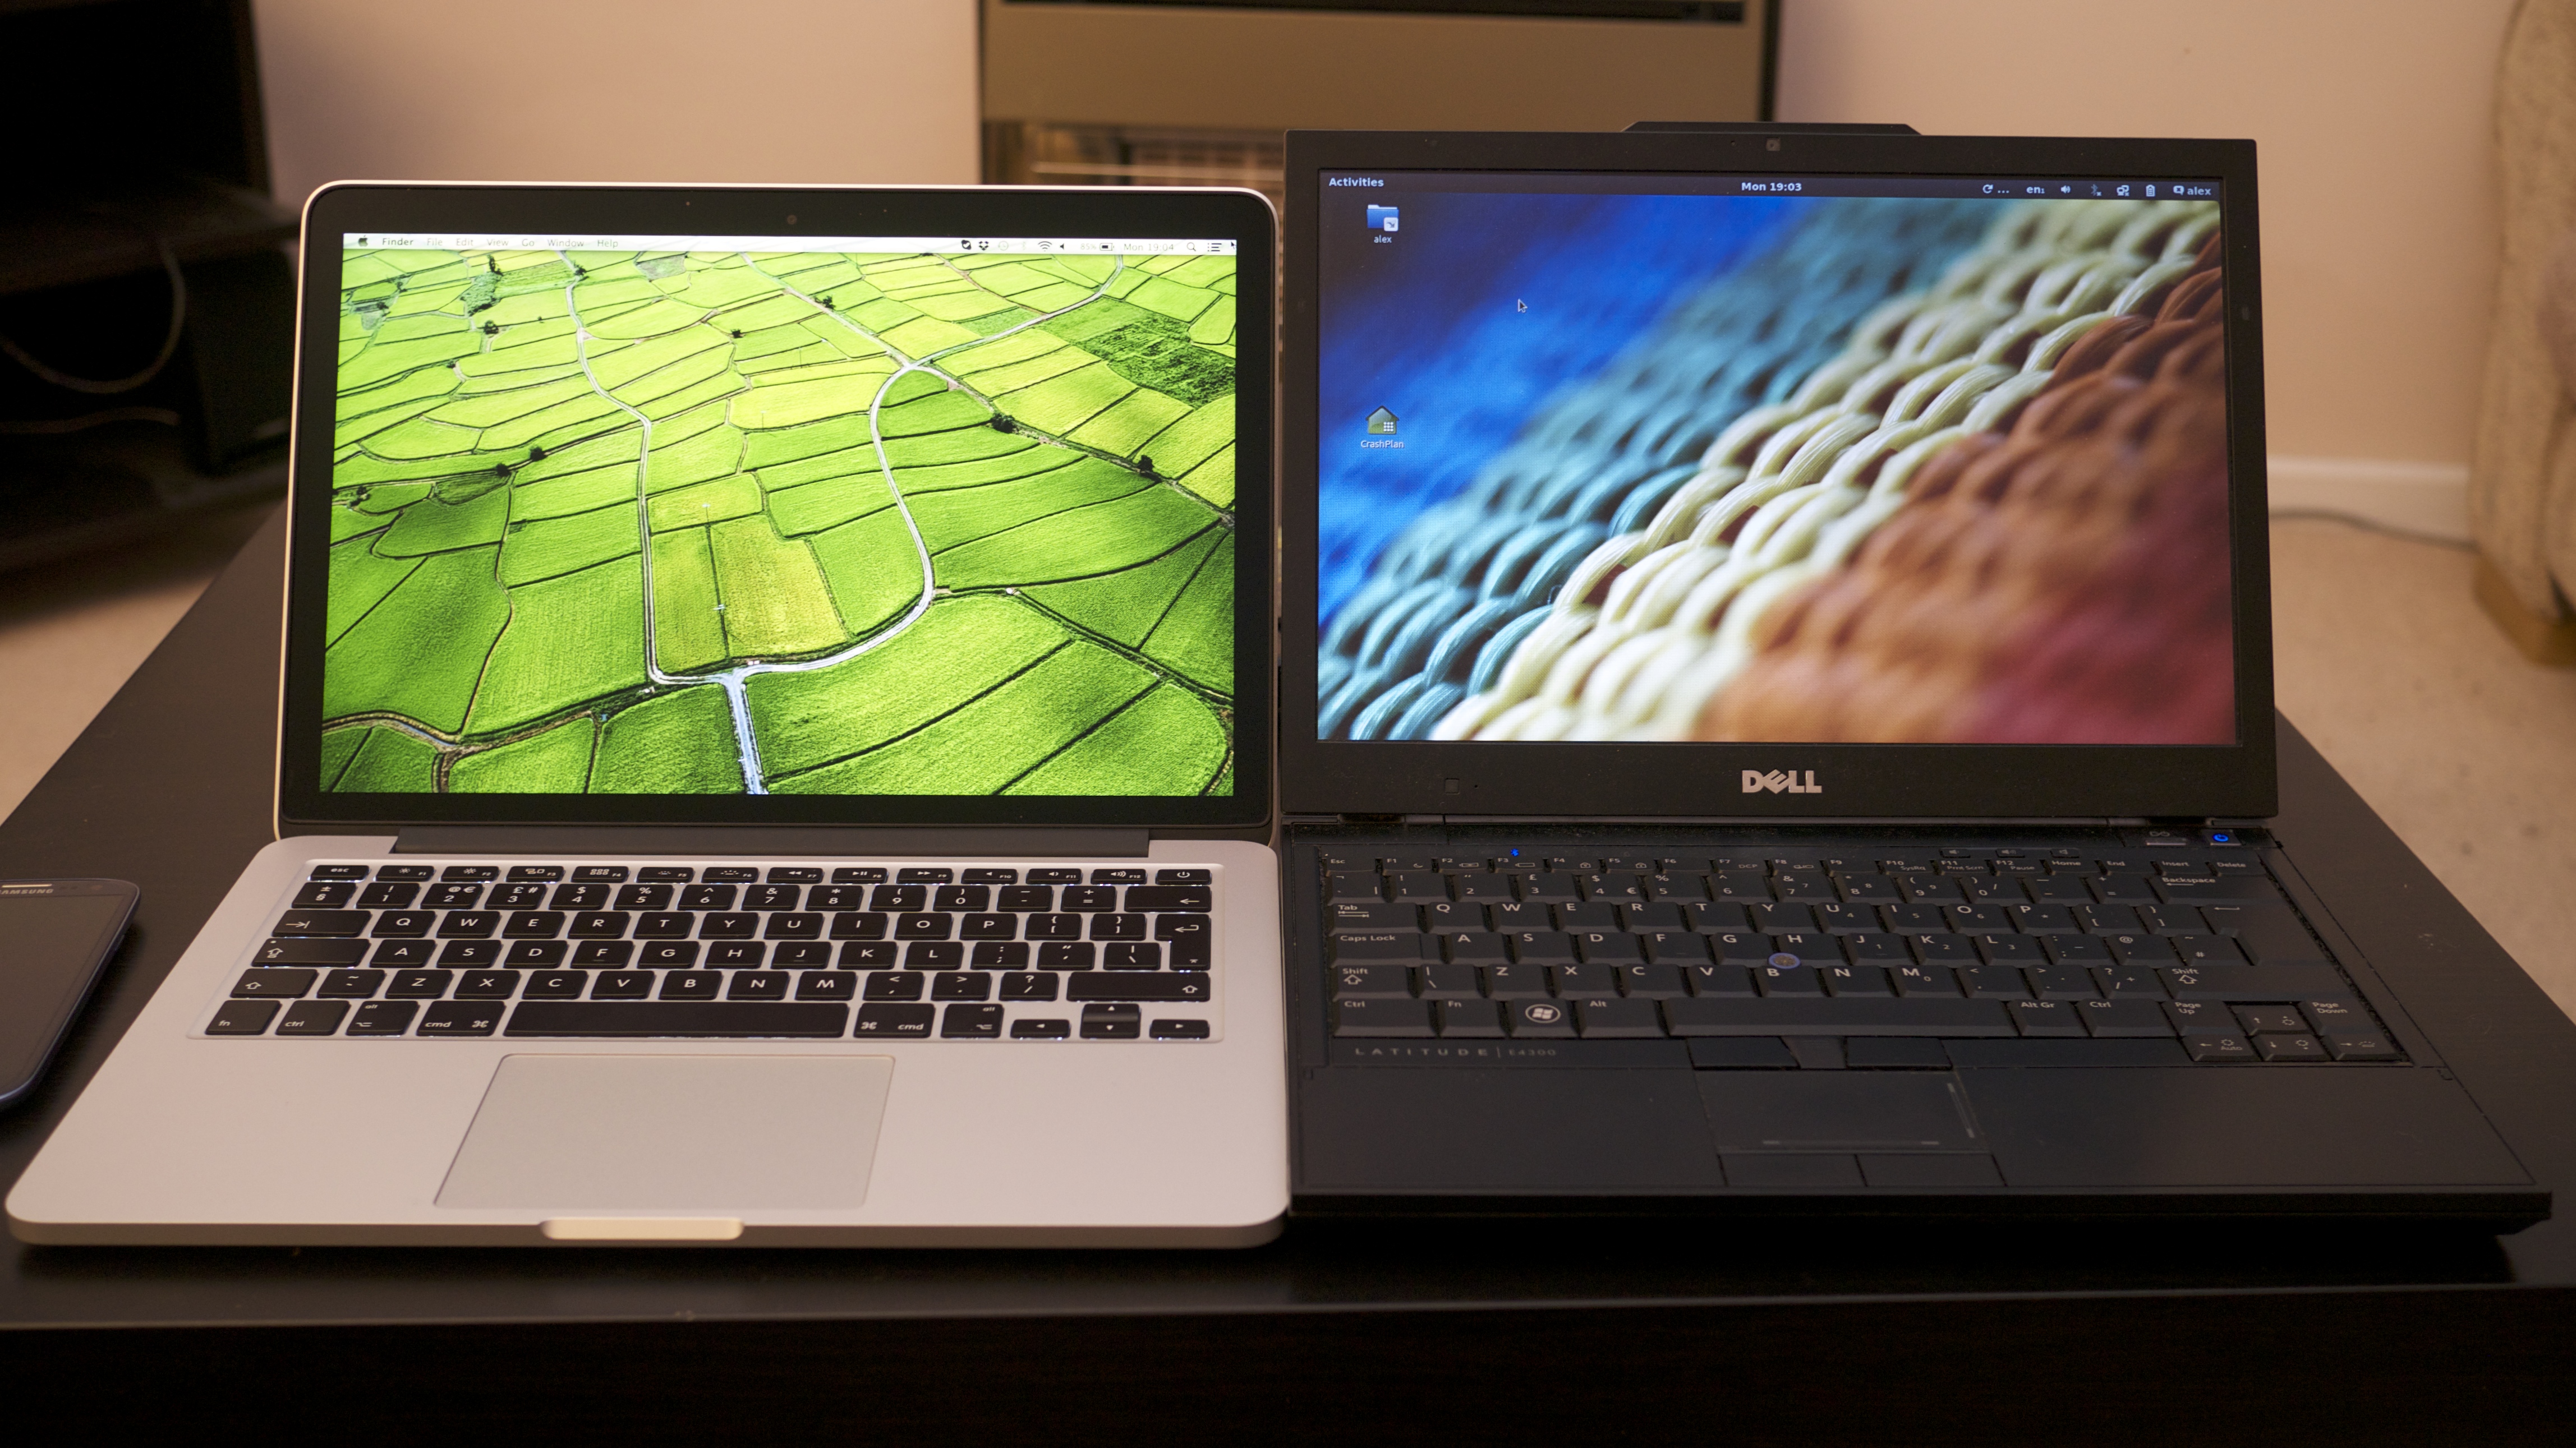
It’s been more than 4 years since I wrote about home servers, but my Ubuntu Home Server article was, for a while, the most popular post on this blog. Since moving to the UK though, I’ve taken a more appliance-based approach to my home network. For the last few years I’ve been using a Boxee Box for media playback, and a 4-bay Netgear ReadyNAS duo NV2+ for storage, mainly to keep the bulk of my possessions to a minimum.
The appliance approach does have advantages. It is power efficient, easy to setup, and very low maintenance. But after getting an internet connection with decent upload speed, I wanted to run CrashPlan on the NAS without having to have another PC running. I managed to get it running by following directions I found here.
There’s just one problem:
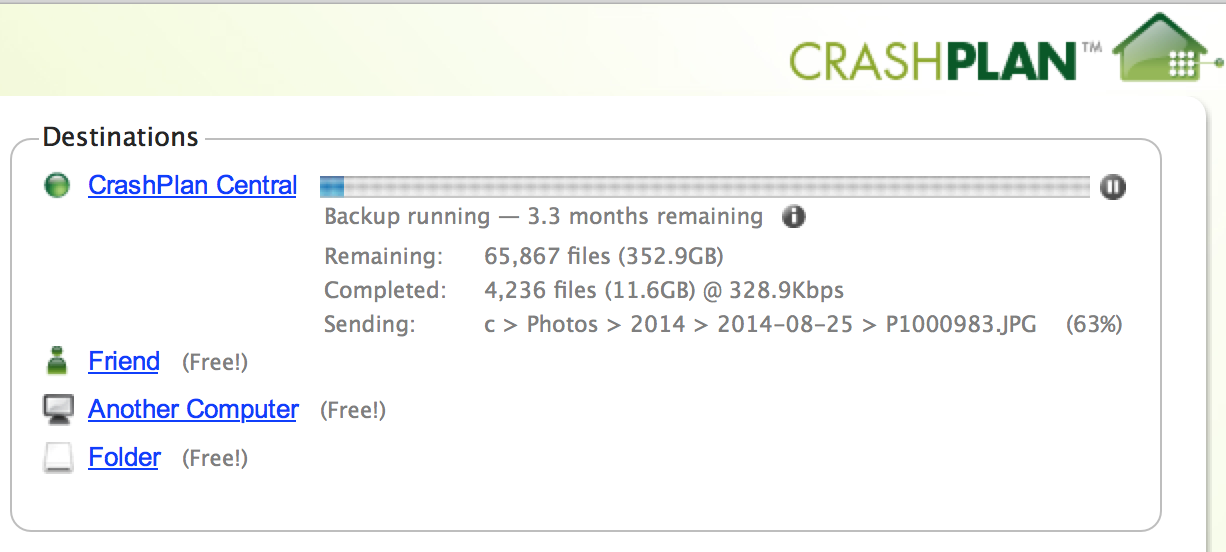
3.3 months to upload 350GB is a little too long
Performance is abysmal, and I’ve only selected the most important data – my photos. I’m limited not by my internet connection, but by the NAS’s anaemic CPU and lack of ram (just 256Mb). Furthermore, it’s always had very slow read and write speeds – generally around 2Mb/sec, and loading a large directory via its Samba shares can take a while.
So I started to look for a replacement. My requirements:
- Minimum 2GB ram
- Strong CPU, preferably x86
- 4+ drive bays
- Linux based OS
- Root access to said OS
The best pre-built option I could find which meets those requirements is the Thecus N5550, but at £383 it is a long way from cheap. And it barely meets the specs; an Atom CPU is strong for a NAS but not by modern x86 standards.
While the customised software shipped with a NAS does offer some conveniences, it also gets in the way of using newer Linux features such as BTFS RAID 5/6 (which is currently not considered stable but should be within the next 12 months). You’re also reliant on the vendor for distribution upgrades, and the priority is going to be shiny features which consumers will appreciate, not keeping the foundation OS up to date. The ReadyNAS NV2+ is currently running Debian Squeeze, and will be until the day support ends.
At this point I realised that a pre-made NAS with the level of power and flexibility I wanted doesn’t exist at a realistic price point. And with the end of Boxee support its days as a useful device are numbered, so a HTPC could be on the cards as well. It’s time to build my own server again.